Using a Roman testum (clay oven) to bake bread
Long before the modern oven offered a carefully measured temperature, Roman bakers relied on heated clay, embers, timing, and experience. A testum was a simple but effective baking arrangement: a domed or inverted clay vessel placed over the dough, with hot coals gathered around or on top of it. The vessel enclosed the loaf and transformed radiant heat into an enclosed baking environment.
This method belongs to a wider Mediterranean tradition of cooking with portable hearth vessels. The equipment varied by period and region, but the principles remained familiar: heat the clay thoroughly, prepare a dough that can withstand direct hearth baking, and manage the embers so the crust browns without burning.
Reconstructing the process at home does not require pretending that a modern kitchen is an ancient bakery. It requires understanding what the Roman method was trying to achieve and adapting those principles safely. A small clay oven, a baking cloche, or a heavy lidded pot can all provide useful comparisons.
What a testum was designed to do
The Latin word testum is associated with a clay cover or baking vessel used over the hearth. In practical terms, it worked like an inverted oven. The bread rested on a heated surface while the vessel trapped hot air and radiated heat back toward the top of the loaf. Embers could be placed beside the vessel and, depending on its form, across the upper surface.
It should not be confused too rigidly with every other ancient oven. Roman kitchens also used fixed domed ovens, portable braziers, and vessels described as clibani. Ancient terminology could overlap, and archaeological examples do not always reveal their exact culinary function. For experimental baking, however, “testum” is a useful name for the covered clay-hearth technique.
The advantage was efficiency. A baker did not need a large permanent oven to produce a well-baked loaf. A heated clay shell concentrated the fire’s energy, while the thick walls moderated sudden changes in temperature. This made the system especially suitable for rural kitchens, temporary cooking spaces, and small household production.
Choosing clay equipment for a modern hearth
A purpose-made terracotta bread cloche is the simplest modern substitute. A thick unglazed clay dome can also work, provided it is designed for high heat and contains no decorative glaze, paint, or unknown additives. A cast-iron Dutch oven offers a safer contemporary alternative because it tolerates thermal stress more reliably, although it does not reproduce the porous character of ancient pottery.
Thermal shock is the greatest danger. Never place a cold clay vessel directly onto a roaring fire, and never pour cold water into hot pottery. Warm the vessel gradually, inspect it for cracks, and follow the manufacturer’s instructions when using a modern reproduction. The baking surface should be stable, level, and isolated from flammable materials.
A covered vessel needs room for the dough to expand. A round loaf of approximately 500 to 700 grams of flour requires a baking chamber at least 25 centimeters wide, with enough height for the bread to rise. Clay walls may absorb moisture, but steam will still accumulate inside the cover, helping the crust set more gradually during the first stage of baking.
Building a bread suited to the method
A Roman-style reconstruction can begin with a straightforward wheat dough: 500 grams of flour, about 325 grams of water, 10 grams of salt, and a small amount of sourdough starter or yeast. This produces a moderately hydrated dough that is easy to shape and less likely to spread across an irregular hearth surface. A natural leaven gives historical character, but a restrained quantity of commercial yeast is practical for controlled experiments.
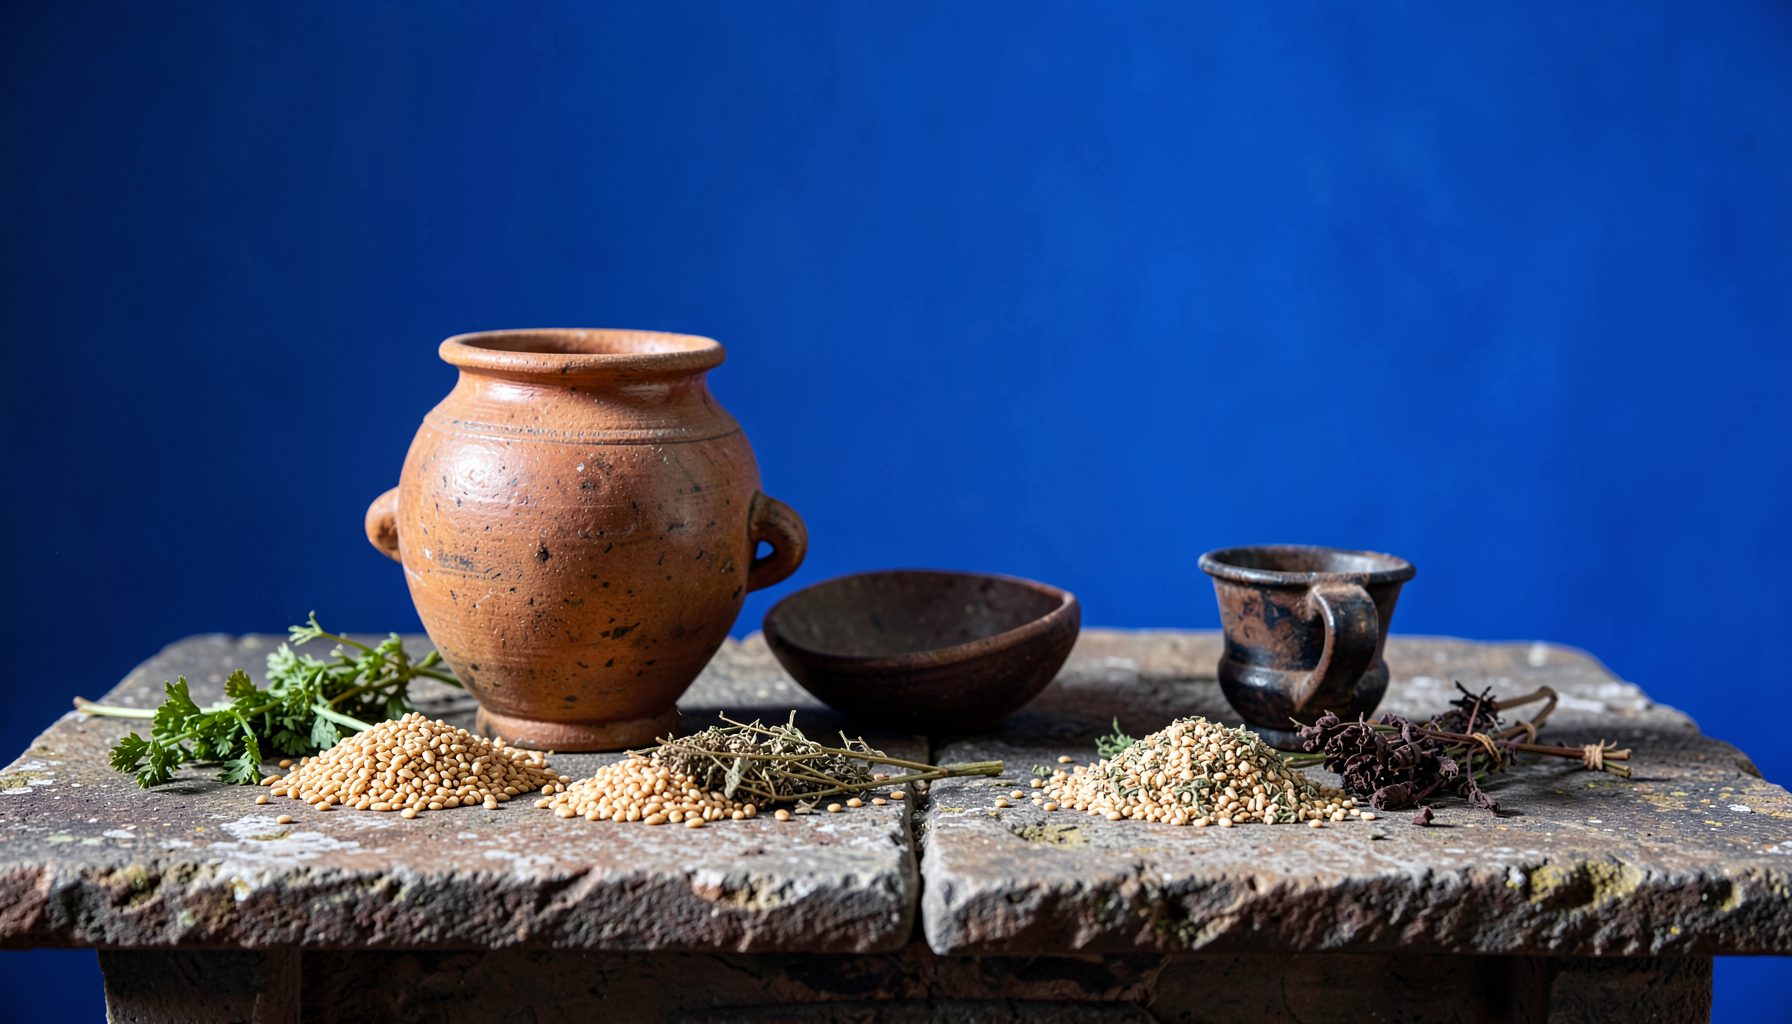
Ancient bread was not limited to plain wheat. Barley, millet, emmer, and other grains appeared in different places and periods, often producing denser loaves. Additions such as herbs, cheese, olives, or dried fruit change the dough’s moisture and cooking time. A sweet loaf made with dates offers a useful comparison; the reconstruction of ancient Sumerian date bread shows how dried fruit can function as both ingredient and source of texture in an early grain preparation.
Knead the dough until it becomes elastic, then leave it to ferment until visibly expanded. Shape it into a compact round and place it on a lightly floured tile, wooden peel, or small baking slab. A few shallow cuts across the surface allow expansion and help the baker judge the progress of the loaf.
Managing fire, clay, and baking heat
The fire should be established before the dough is placed inside. Hardwood produces a strong bed of embers, while resinous or green wood tends to create excess smoke and unstable heat. Once the flames have subsided, rake the embers into a broad, even layer. The goal is sustained radiant heat rather than a tall flame licking around the vessel.
For a modern test, preheat the clay cover and hearth for roughly 30 to 45 minutes, depending on thickness and fuel. Exact timing is less useful than observation. The clay should feel thoroughly heated, and a small pinch of flour placed on the baking surface should brown steadily rather than blacken immediately. If it burns at once, wait for the fire to settle or move some embers aside.
Set the dough on the heated surface and cover it quickly. Embers can be arranged around the base and, if the vessel is specifically designed for it, on top of the dome. Avoid placing live coals on pottery that is not rated for this use. Bake until the loaf has a firm crust and sounds hollow when tapped, usually 35 to 55 minutes for a medium round loaf.
| Feature | Ancient hearth method | Modern reconstruction |
|---|---|---|
| Heat source | Wood fire and embers | Fireplace, fire pit, or controlled charcoal bed |
| Baking chamber | Inverted clay cover or small clay oven | Terracotta cloche, bread dome, or Dutch oven |
| Temperature control | Color of embers, clay heat, and experience | Infrared thermometer combined with visual observation |
| Baking surface | Hearth stone, tile, or packed clay | Pizza stone, refractory tile, or cast iron |
| Moisture management | Enclosed vessel and dough humidity | Covered baking, optional steam, and staged uncovering |
| Main risk | Cracked pottery or uneven fire | Thermal shock, burns, and unsuitable modern ceramics |
Reading the loaf without a thermometer
Ancient bakers had no numerical temperature scale, so sensory judgment was central. The color of the embers indicated how fiercely the fire was burning. The clay’s warmth could be tested cautiously, while the dough’s expansion, aroma, and crust color revealed whether the bake was advancing properly.
A modern baker can combine these observations with an infrared thermometer. A hearth surface around 220–250°C is a useful starting range for a wheat loaf, though the reading depends on the material and location. The interior of the bread should reach approximately 94–98°C. This measurement is helpful, but it should not replace attention to the crust and crumb.
If the base darkens too quickly, raise the loaf on a tile or reduce the embers beneath it. If the top remains pale, maintain more heat above the cover or uncover the loaf briefly near the end. Dense doughs need longer, gentler baking, while loaves containing honey, dates, or other sugars brown faster. Pepper and other costly seasonings also carry social meaning beyond flavor; the history of pepper’s Roman trade helps explain why such ingredients should be treated as markers of access and exchange rather than assumed everyday additions.
Flavor, texture, and archaeological interpretation
Bread baked beneath clay develops a firm, dry crust and a moist interior, especially when the cover remains in place during the early bake. The underside may show a darker ring or scattered ash marks, depending on the hearth. Small irregularities are valuable evidence of the process: uneven browning can reveal where the embers were concentrated, while a thick crust may indicate excessive preheating or a vessel that failed to retain enough humidity.
The flavor is usually subtle rather than dramatically different from bread baked in a modern oven. The major distinctions come from the crust, the slight mineral or earthy character of the clay, and the effect of direct radiant heat. Smoke flavor appears only when the loaf is exposed to active flames or dirty fuel, and excessive smoke should be understood as a problem of fire management rather than an essential ancient taste.
Historical reconstruction also requires restraint. A successful loaf does not prove that every Roman baker used precisely the same recipe or vessel. Texts, archaeological remains, and experimental cooking answer different questions. The value of the testum lies in showing how tools, fuel, grain, labor, and household knowledge worked together in a particular baking system.
A practical reconstruction checklist
Before starting a hearth bake, prepare the equipment and dough separately. The fire must be ready before fermentation reaches its endpoint, while the clay vessel needs enough time to warm gradually. Keeping notes on flour type, hydration, fuel, preheating time, and ember placement makes each trial more informative.
Use these points as a working guide:
- Choose a high-fired, food-safe clay vessel with no unknown glaze or decoration.
- Heat the pottery slowly and keep water away from hot clay.
- Use a moderate-hydration wheat dough for the first experiment.
- Rake flames into stable embers before placing the bread under cover.
- Record crust color, internal temperature, baking time, and the condition of the hearth.
A first attempt should be treated as an experiment rather than a test of authenticity. The most revealing results often come from changing one factor at a time: a thinner loaf, a longer preheat, a different grain, or a new arrangement of coals. Comparing the results can show how much ancient baking depended on accumulated practical knowledge.
A Roman testum brings the ancient hearth into focus because it makes heat visible and tactile. The baker must read fuel, clay, dough, and time as parts of one system. Try the method with a simple wheat loaf, document each stage, and share the finished reconstruction as evidence of how historical cooking can be investigated through practice.